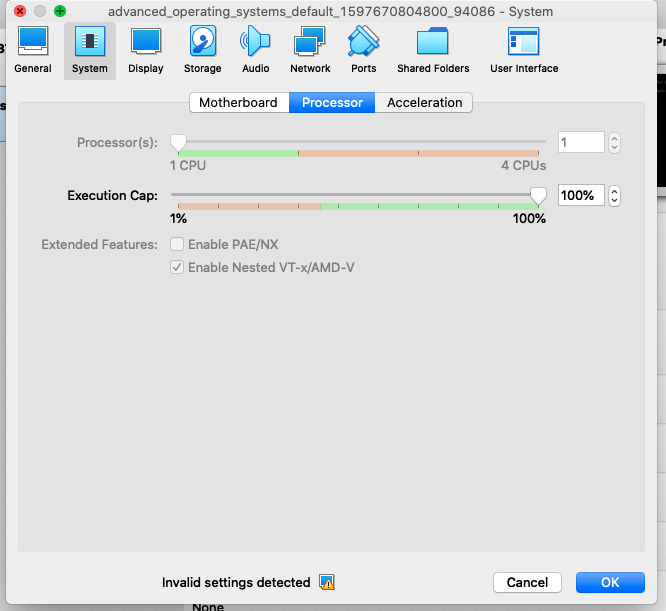
If you are taking advanced operating systems course at Georgia Tech (OMSCS) and want to run the the lab environment on your mac laptop (or desktop) using Virtualbox, then follow the below instructions. Below, you’ll find a Vagrantfile that will launch a virtual machine, install Ubuntu and configure nested virtualization:

Step by Step Instructions
- Download and Install latest version of Virtualbox for MacOS1
- Download and install Vagrant
- Create Vagrantfile
- mkdir -p ~/workspace/advanced-os-vm && cd ~/workspace/advanced-os-vm
- Copy and paste the Vagrant file contents (inspired by another blog post2)
# https://app.vagrantup.com/ubuntu/boxes/trusty64
Vagrant.configure("2") do |config|
  config.vm.box = "ubuntu/trusty64"
  # enable nested virtualization
  config.vm.provider "virtualbox" do |vb|
    vb.customize ['modifyvm', :id, '--nested-hw-virt', 'on']
  end
end
- Launch virtual machine
- Execute vagrant up
Compiling pre-lab
- Copy prelab.tar to ~/workspace/advanced-os-vm
- Log into your vm
- Execute vagrant-ssh
vagrant@vagrant-ubuntu-trusty-64:~$ cd /vagrant
vagrant@vagrant-ubuntu-trusty-64:/vagrant$ tar xvf prelab.tar
prelab/
prelab/Makefile
prelab/producer_consumer.c
vagrant@vagrant-ubuntu-trusty-64:/vagrant$ make
make: *** No targets specified and no makefile found.  Stop.
References
1. Make sure you are running a version that’s >= 6.1.8 to avoid being bitten by a potential bug that’s reported here: https://www.virtualbox.org/ticket/19245
2. Code snippet for Vagrantfile largely is a derivative of what I found here: https://eclipsys.ca/how-to-enable-nested-virtualization-in-virtualbox-new-feature/