Category: How-to

  • Building an audience: A lesson from the younger me

    When it comes to building an audience as a solo-entrepreneur, the younger me was much smarter, much more in tuned with himself. These days, I operate 95% of my life from the left side of my brain, analyzing and taking a data driven, logical approach. While necessary in many respects, I need to make more decisions using my intuition … that’s how one of my first YouTube videos published 14 years ago received over 400,000 views:

    (I admit that I feel a little embarrassed sharing the above video!)

    I was 20 years old at the time. I was getting into parkour and tricking, and after learning how to back flip, I landed the “butterfly twist”. For this martial arts move, I had practiced several hours a day — with a community of other aspiring trickers — and after many face plants and overcoming of my fears, I recorded a tutorial that I then uploaded to this thing called “YouTube”.

    Back then, the number of views did not matter to me. I was just documenting my progress, sharing with the world, and most importantly: helping others on a similar journey.

    That’s it.

    I’m sure there are more sophisticated ways to gain an audience, a more strategic approach. But, I think I’ll start with just continuing to 1) help others and 2) be part of a community of link-minded people

    So, what are some ways in which you are building and engaging with your audience?

    Come chat with me on Twitter @memattchung


  • Squeezing the most out of your study sessions (midterm and final exam preparation)

    Squeezing the most out of your study sessions (midterm and final exam preparation)

    Why publish my studying techniques?

    This semester, I manage to pull off an A not only for the midterm and final exams, but for the class as a whole. My intention of revealing my grade is not to boast (that’s poor taste), but to give some credibility to the techniques and strategies below, techniques and strategies (rooted in pedagogy) for someone who is working full time, someone who is is growing as a (freshly minted) father and husband, someone who pursues a wide array of other interests outside of graduate school. That being said, receiving the highest letter grade is not my goal in the program (although I admit it once was). My goal is to learn as much as I can, absorb as much computer science, connect the dots between all the other classes, bridge the gap between theory and practice, and apply the knowledge to my job as a software engineer.

    Exam logistics

    Assumptions

    This blog post assumes that you can openly collaborate with other students. During my term (Fall 2020), us students shared our answers using a two pronged approach: studying with one another over Zoom (see my post on War Rooms) and comparing answers in a shared Google Document. Crowd source at its finest.

    Time Bound

    You have up to 3 days to take exams. And before the exam window opens, the study guides (i.e. all the previous exams bundled up in a .zip file) are published. That’s about a week for you to prepare. And once the exam window opens, the professor and teacher assistants publish the actual exam. That’s right: they provide all the questions (even then, the exam is no walk in the park). In other words, you walk into the exam with no surprises, knowing exactly what questions to expect.

    Spaced repetition

    To make the most use out of my time bounded study sessions, I apply three techniques rooted in research: forgetting curve, spacing effect, and testing effect (check out a paper I wrote titled “An argument for a spaced repetition standard”).

    Put simply, instead of one massive, multi-hour study session, I break down the study sessions into a fistful of sessions, around five to ten, and spread the sessions across multiple days (i.e. “spaced repetition”), each session lasting anywhere between 10-20 minutes. During each study session, I test myself (i.e. “testing effect”) and try to answer questions just as I’m about to forget them (i.e. “forgetting curve”). With this approach, I optimize memory retention for both short and long term. This technique aligns with what Bacon stated back in 1620:

    “If you read a piece of text through twenty times, you will not learn it by heart so easily as if you read it ten times while attempting to recite from time to time and consulting the text when your memory fails”.

    Studying previous exams

    Here’s how I study previous exams.

    First, I create a blank page in Google Docs. Then, I select one of the previous exams (only one because of time constraints) and copy all of its questions into this blank document. Next, I attempt to answer each question on my own: no peeking at the solution guide! This is how I test myself.

    My google doc sheet

    After answering each question, I compare my guess — sometimes it is way off — with the answer printed in the answer sheet. If my answer is incorrect, I then copy the correct answer, word by word, below my original answer. The act of copying helps reinforces the right answer and positioning the two answers — mine and the correct one — next to each other helps me see the holes in my logic.

    I apply this circular technique — copy question, answer question, compare the two, copy correct answer — for each question listed in the exam. Bear in mind that I apply this circular technique only once. Repetition will come in later when I study the actual final exam.

    Studying final exam

    Studying for the final exam approach closely resembles my circular technique (describe previously). The main difference is this: instead of only making a single pass through the questions, I make two passes. The first pass is the same (described above) circular technique of copying each questions and taking a stab at them. In the second pass, I review my answers against the collaborated google docs, where all the other students dump their answers.

    Collaborated Google Doc study guide

    Once my answer guide — not the collaborated Google Docs — is filled out with (hopefully) the right answers, I then the contents into my space repetition software: Anki. After copying, I simply rote memorize, drilling each questions into my head until I stop answering incorrectly, which normally takes about an hour in total, spread across 2 days.
    Finally, after the spaced repetition sessions using Anki, with the contents of the exam sitting fresh in my working memory, I take the exam and simply brain dump my answers.

    Using Anki to study for exam

    References

    https://blog.mattchung.me/2020/09/27/my-anki-settings-for-cramming-for-an-exam/


  • Testing your gRPC services using grpc_cli

    Testing your gRPC services using grpc_cli

    This post may be helpful for you if you are building gRPC services and want a convenient way to test your service using a command line tool. Similar to using cURL when testing HTTP(s) services, I wanted an easy way to test the gRPC services that I’m building.

    Originally, I had originally planned to whip together a tiny C++ program that sends protobuf messages to my MapReduce service that I’m building for advanced operating systems course. Fortunately, a testing tool already exists: grpc_cli. Even better is that the tool ships with the grpc source code.

    So follow along if you want to install the grpc command line tool, enable server reflection, and execute a few examples.

    Note: This post assumes that you are programming in C++ and your operating system is Ubuntu

    Install grpc_cli

    Follow the steps below if you are running on Ubuntu. If you are running gRPC on your mac, then you’ll want to substitute the apt-get command with brew install, as described in the grpc command line documentation.

    1. Clone the grpc repository

      [code lang=”bash”]git clone git@github.com:grpc/grpc.git[/code]

    2. Add submodules

      [code lang=”bash”]$ git submodule update –init[/code]

    3. Install libflags-dev

      [code lang=”bash”]$ sudo apt-get install libgflags-dev[/code]

    4. Compile grpc

      [code lang=”bash”]$ mkdir -p cmake/build
      $ cd cmake/build
      $ cmake -DgRPC_BUILD_TESTS=ON ../..
      $ make grpc_cli
      [/code]

    Enable Reflection for your service

    In your grpc service code, before you bind and listen, you’ll need to enable reflection. Although not entirely necessary for interacting with your service, not having reflection enabled means you cannot use many of the grpc_cli commands like list.

    [code lang=”bash”]
    grpc::reflection::InitProtoReflectionServerBuilderPlugin();
    grpc::ServerBuilder builder;
    builder.AddListeningPort(server_address, grpc::InsecureServerCredentials());
    builder.RegisterService(&service);

    [/code]

    Add grpc++_reflection library

    Make sure that you are adding grpc++ library when building your project. If you are a student in advanced operating systems, you’ll need to update GeneratedProtos.cmake and link the gRPC::grpc++_reflection library as follows:

    [code lang=”bash”]
    % git diff
    diff –git a/src/GenerateProtos.cmake b/src/GenerateProtos.cmake
    index c6a80bc..cce2d51 100644
    — a/src/GenerateProtos.cmake
    +++ b/src/GenerateProtos.cmake
    @@ -75,5 +75,5 @@ add_custom_command(
    )

    add_library(p4protolib ${ProtoHeaders} ${ProtoSources})
    -target_link_libraries(p4protolib PUBLIC protobuf::libprotobuf gRPC::grpc++)
    +target_link_libraries(p4protolib PUBLIC protobuf::libprotobuf gRPC::grpc++ gRPC::grpc++_reflection)
    target_include_directories(p4protolib PUBLIC ${CMAKE_CURRENT_BINARY_DIR} ${CMAKE_CURRENT_BINARY_DIR})
    [/code]


    Using grpc_cli

    I’d encourage you to explore the grpc_cli by checking out the official user guide. However, for the purpose of this post, I want to show you how to list your service as well as how to invoke the “MapReduce” service.

    Examples

    Start your gRPC service

    In the example below, I’m staring my worker process that listens on localhost:50051. Here’s a snippet of my very bare service:

    [code lang=”proto3″]
    service MapReduce {
    rpc map(MapRequest) returns (MapResponse) {}
    rpc reduce(ReduceRequest) returns (ReduceResponse) {}
    [/code]

    Starting the service

    [code lang=”bash”]
    $ ./mr_worker localhost:50051
    Listening on ip address: localhost
    Listening on port: 50051
    Server listening on localhost:50051
    [/code]

    List the services

    After starting my service (that has reflection enabled), the service shows up when I execute the list command:

    [code lang=”bash”]
    $ ./grpc_cli ls localhost:50051
    masterworker.MapReduce
    grpc.reflection.v1alpha.ServerReflection
    grpc.health.v1.Health
    [/code]

    Invoking “MapReduce”

    [code lang=”bash”]
    $ ./grpc_cli call localhost:50051 masterworker.MapReduce.map "shard_data: ‘123’"
    connecting to localhost:50051
    Rpc succeeded with OK status
    [/code]

    Passing in multiple fields

    [code lang=”bash”]
    $ ./grpc_cli call localhost:50051 masterworker.MapReduce.reduce "filename: ‘123’ worker_hostname: ‘localhost’ worker_port: 50051"
    connecting to localhost:50051
    Rpc succeeded with OK status
    [/code]

    References

    • https://grpc.github.io/grpc/cpp/md_doc_server_reflection_tutorial.html
    • https://github.com/grpc/grpc/blob/master/doc/command_line_tool.md
    • https://stackoverflow.com/questions/61641174/unable-to-link-the-grpc-libraries-in-windows
  • How to clean your cleaning tools (notes)

    How to clean your cleaning tools (notes)

    How do you take care of the tools that you use for cleaning?  This is a question I’ve been curious about over the last couple days since currently going through a cleaning phase. To up my cleaning skills, I’ve been searching online for tutorials and discovered an amazing YouTube channel called Clean My Space that published a video titled “7 Expert Cleaning Tips You Need to be Using”. After watching the video, I’m now applying the cleaning techniques to maintain and take care of my home cleaning tools.

    1. Brushes (with Oxiclean) Mix oxiclean and hot water (check manual for right ratio) and then toss your brushes (e.g. toothbrush, bottle brush) in the mixture and allow the bristles to soak anywhere between 30 to 60 minutes.
    2. Sponges Apply the same method as above (or microwave the sponge). Keep in mind that the sponge should be cleaned weekly and replaced monthly
    3. Cleaning Cloths. For cleaning clothes, just toss them in the washer and sprinkle with baking soda. But for microfiber, make sure to first rise them alone then place them in delicate bag. Add a little detergent, thats it. Dry them as you would (gentle cycle). Also, never use micro fiber for greasy, since it ruins the microfiber
    4. Mop Head. Wash and then to dry. Wash monthly.
    5. Broom. Remove broom from broom stick, place in bucket (with Oxiclean). Perform this maintenance every 3 months.
    6. Vacuum. Refer to user guide (or manual), but few good general tips for maintaining include: empty on the regular basis, wash the filter (especially for HEPA vacuum), and lay the entire vacuum flat for 24 hours and cut up stuff that gets tangled in the brush, using warm soap and water and allowing let them rest for 24 hours to let them dry
  • How to convert .heic images to .jpeg using command line on MacBook

    How to convert .heic images to .jpeg using command line on MacBook

    My wife’s apple iPhone X saves images she captured with her camera as .heic format1 , a relatively new file format that compresses high quality images and I needed a way to convert these type of files to .jpeg (which apparently dates back to 1992) so that they can be uploaded to my blog and eventually rendered by your browser.

    After some googling, I discovered that my MacBook ships with the sips command line (scriptable image processing system) and the tool provides all the functionality I need. Each image that sips process takes about a second so that’s not too bad when bulk converting photos.

    SIPs Command

    $ sips -s format jpeg --resampleWidth <resolution> <source> --out <destination>

    Example

    Below is an example of the command that I ran to convert images for my blog, converting the image to a minimum of 1200 pixels (in width).

    % sips -s format jpeg --resampleWidth 1200 IMG_1043.HEIC --out 2020-09-15-elliotts-nuggets.jpeg
    /Users/matthewchung/Downloads/IMG_1043.HEIC
    /Users/matthewchung/Downloads/2020-09-15-elliotts-nuggets.jpeg

    References

    1. https://www.howtogeek.com/345314/what-is-the-heif-or-heic-image-format/
  • How to obtain the length of the memory statistics array when calling virDomainMemoryStats

    How to obtain the length of the memory statistics array when calling virDomainMemoryStats

    Up to ‘nr_stats’ elements of ‘stats’ will be populated with memory statistics from the domain. Only statistics supported by the domain, the driver, and this version of libvirt will be returned.

    What does the above API description even mean by nr_stats? How do you determine the number of elements that need to be populated?

    For the second part of Project 1 my advanced operating systems course, I need to collect memory statistics for each guest operating system (i.e. domain) running on the hypervisor. In order to query each domain for its memory usage, I need to call the virDomainStats function offered by libvrt and pass in a structure with a length of n elements. But how do you determine the number of elements?

    Determining length of virDomainMemoryStats

    The enum value VIR_DOMAIN_MEMORY_STAT_NR can be used to determine the length of the statistics array. That value, part of the enum virDomainMemoryStatTags1, represents the last type of memory statistic offered by the libvrt library.

    I figured this out after searching on Google and stumbling on an open source project called collectd2the source code making use of the libvrt library.

    References

    • https://libvirt.org/html/libvirt-libvirt-domain.html#virDomainMemoryStatTags
    • https://github.com/collectd/collectd/blob/master/src/virt.c
  • How to build the libvrt documentation from source

    How to build the libvrt documentation from source

    If just download the libvert application development guide, click here.

    How to build the documentation
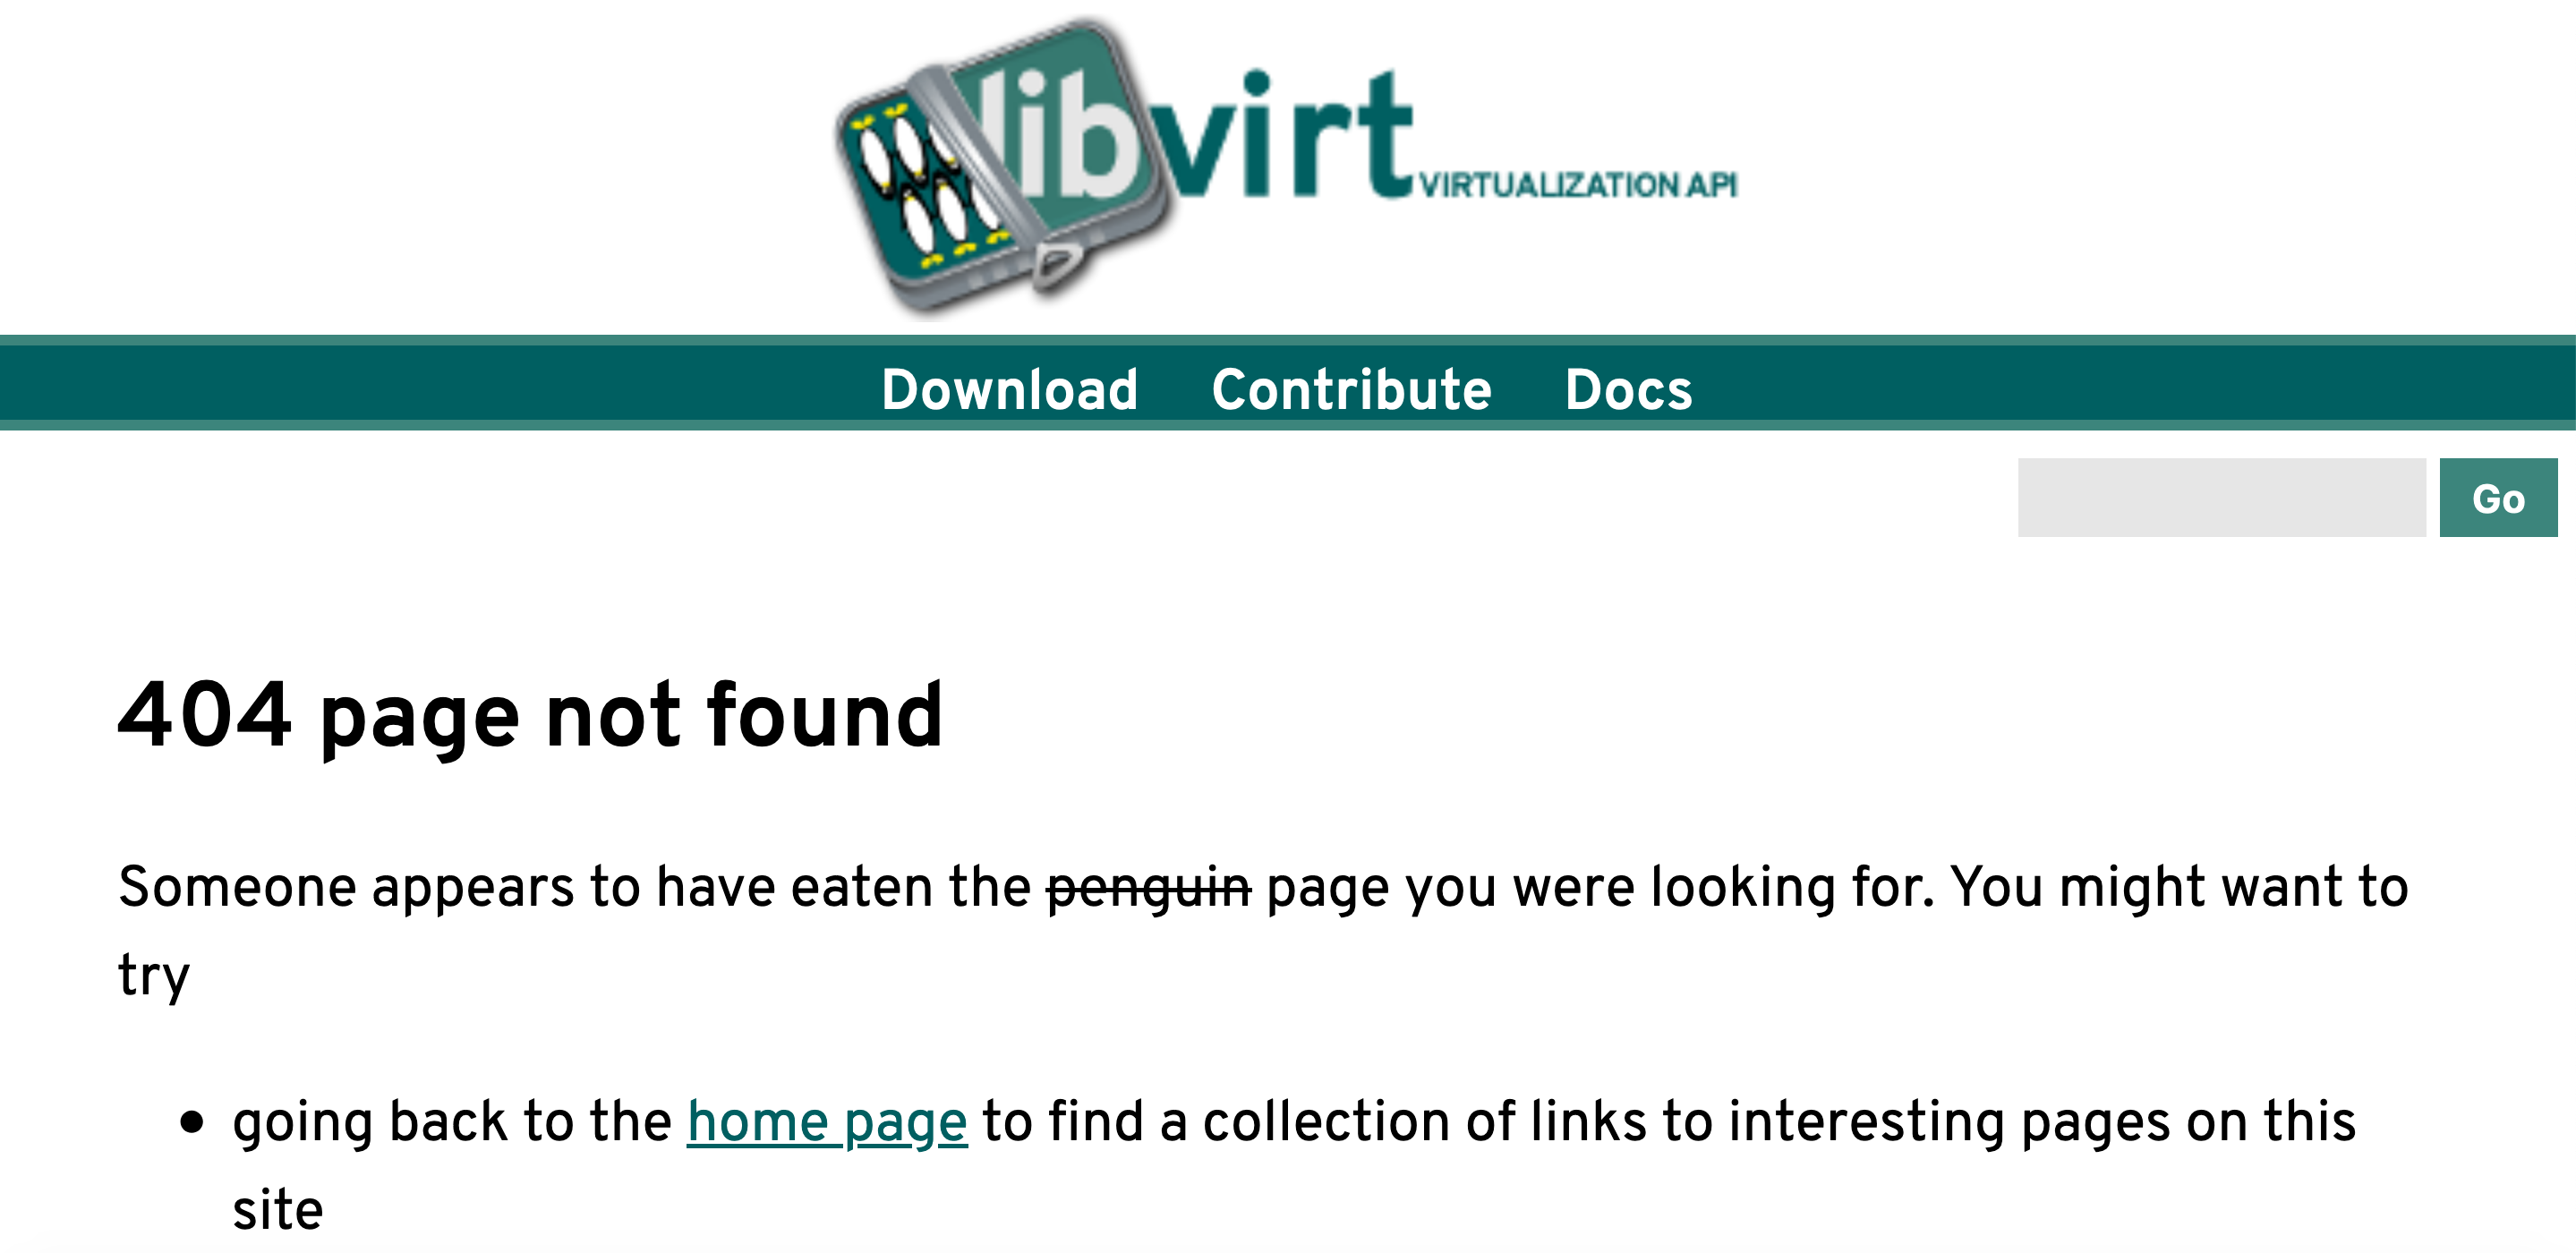
    libvrt broken documentation


    The libvrt developer documentation link is broken (i.e. HTTP 404). But I need the development guide for my advanced OS course so I downloaded the repository and built the documentation from source. If you want to do the same (instead of downloading the PDF I rendered above) you can execute the following instructions:

    [code lang=”bash”]
    git clone https://libvirt.org/git/libvirt-appdev-guide.git
    sudo apt install publican
    publican build –langs=en-US –formats=pdf –brand_dir=./
    [/code]

     

  • How to launch and ssh to a KVM instance

    How to launch and ssh to a KVM instance

    This posts assumes that you’ve already synced the OS images on to your virtual box. If you haven’t, check out this blog post.

    While launching a new virtual machine for project1, I kept on running into variants of the following error:

    vagrant@ubuntu-bionic:~$ sudo uvt-kvm ssh aos_vm1 
    ubuntu@192.168.122.183: Permission denied (publickey).

    To get this to work, here are the steps I took:

    vagrant@ubuntu-bionic:~$ sudo uvt-kvm create aos_vm1 release=bionic --memory 256 --ssh-public-key-file /root/.ssh/id_rsa.pub
    vagrant@ubuntu-bionic:~$ sudo uvt-kvm wait aos_vm1
    vagrant@ubuntu-bionic:~$ sudo uvt-kvm ssh aos_vm1
  • Syncing releases with uvt-simplestreams-libvrt

    Syncing releases with uvt-simplestreams-libvrt

    If you are executing uvt-simplestreams-libvrt you’ll need to execute the command with sudo and exercise patience (i.e. be okay with waiting 3 minutes while program runs without outputting any informational message to the standard output)

    No logging to standard output/error

    I had to exercise some patience when executing the command uvt-simplestreams-libvrt sync, the command that downloads OS images to the box. Basically, the command takes several minutes to complete and does not any information messages while running, leaving you wondering if any forward progress is being made.

    Tip #1 – Run with sudo

    If you do not run the command with sudo, the program will download images but then fail to wrtiting to the socket.

    TIp #2 – Verify images have be downloaded

    Once you downloaded the images, you can list all the images by using the query subcommand.


  • How to configure Ubuntu w/ nested virtualization using Vagrant and Virtualbox on MacOS

    If you are taking advanced operating systems course at Georgia Tech (OMSCS) and want to run the the lab environment on your mac laptop (or desktop) using Virtualbox, then follow the below instructions. Below, you’ll find a Vagrantfile that will launch a virtual machine, install Ubuntu and configure nested virtualization:

    Virtual box w/ nested virtualization
    Virtual box w/ nested virtualization


    (more…)